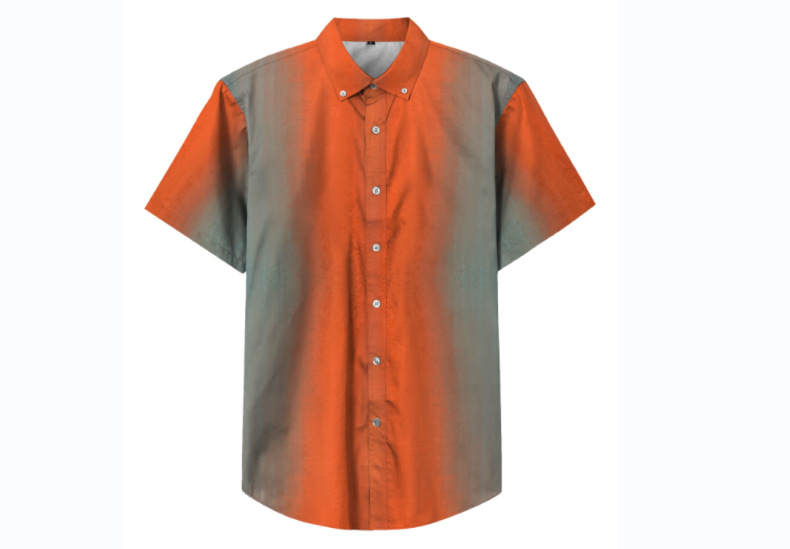
How to Design Your Own Hawaiian Shirt?
Designing your own Hawaiian shirt is an exciting endeavor that allows you to unleash your creativity and express your unique style. Whether you're planning a tropical vacation, attending a themed party, or simply want to stand out with a one-of-a-kind garment, crafting your Hawaiian shirt is a rewarding experience. In this comprehensive guide, we'll walk you through the step-by-step process of designing and creating your custom Hawaiian shirt, ensuring that you achieve stunning results that reflect your personality and preferences.

Step 1: Inspiration
Before diving into the design process, take some time to gather inspiration for your Hawaiian shirt. Browse through tropical patterns, floral motifs, and island-inspired imagery to spark your creativity. You can draw inspiration from nature, traditional Hawaiian art, or even modern interpretations of the iconic Aloha shirt. Consider the colors, textures, and themes that resonate with you, and use them as the foundation for your design.
Step 2: Choose Your Fabric
Selecting the right fabric is crucial for ensuring the comfort, durability, and overall quality of your Hawaiian shirt. Opt for lightweight, breathable fabrics such as cotton, rayon, or linen to keep you cool in warm weather. These materials also provide an ideal canvas for vibrant prints and patterns, allowing your design to shine. Additionally, consider the drape and feel of the fabric to ensure that it complements your desired style and aesthetic.
Step 3: Design Your Pattern
Once you've chosen your fabric, it's time to bring your design to life. Start by sketching out your Hawaiian shirt pattern on paper, taking into account the size, shape, and placement of your desired motifs. Experiment with different layouts, arrangements, and scales to create a visually appealing composition. You can incorporate elements such as palm trees, tropical flowers, surfboards, or hula dancers to capture the essence of Hawaii and evoke a sense of paradise.
Step 4: Select Your Colors
The color palette plays a crucial role in defining the mood and style of your Hawaiian shirt. Choose hues that reflect the vibrant beauty of the Hawaiian islands, such as turquoise, coral, sunset orange, and palm green. Consider incorporating bold, contrasting colors to make your design pop, or opt for a more subdued, monochromatic scheme for a timeless look. Experiment with different color combinations until you find the perfect balance that complements your design and personal taste.
Additional reading:Step 5: Print Your Design
Heat Sealable PET Film vs. Traditional Packaging: Which Wins?
How Are Modern Kitchen Textiles Redefining Sustainability?
Transform Your Packaging: Why BOPP Thermal Lamination Film is the Solution to Your Quality Concerns
Organic Children's Pajamas vs. Conventional: What's the Best Choice?
Choosing the Right Crib Blanket for Your Baby
Perfect Comfort: Children’s Temperature Regulating Quilt
With your pattern and colors finalized, it's time to bring your Hawaiian shirt to life through printing. Whether you prefer traditional screen printing, digital printing, or hand-painting, choose a method that best suits your design and budget. Work with a reputable printing company or artisanal crafter to ensure high-quality results and attention to detail. Be sure to communicate your specifications clearly and provide any reference materials or inspiration to guide the printing process.
Step 6: Sew Your Shirt
Once your fabric has been printed, it's time to sew your classic hawaiian shirts together. If you're not proficient in sewing, consider enlisting the help of a skilled tailor or seamstress to bring your design to fruition. Provide them with your printed fabric and pattern, and discuss any specific details or customizations you'd like to incorporate, such as button styles, collar shapes, or pocket placements. Alternatively, if you're feeling adventurous, you can embark on a DIY sewing project and bring your design to life with your own two hands.
Step 7: Finishing Touches
After your Hawaiian shirt has been sewn together, take the time to add any finishing touches that will elevate its appearance and functionality. This may include hemming the edges, adding buttons or snaps, or embellishing with embroidery or appliqué. Pay attention to the small details to ensure that your shirt looks polished and professional, reflecting the care and craftsmanship that went into its creation.
Conclusion
Designing your own Hawaiian shirt is a fun and fulfilling creative endeavor that allows you to express your individuality and style. By following these step-by-step guidelines, you can create a custom Hawaiian shirt that is as unique and vibrant as you are. From choosing the perfect fabric and designing your pattern to printing, sewing, and adding finishing touches, each stage of the process offers an opportunity for creativity and personalization. So don't hesitate to unleash your imagination and embark on this exciting journey to create the Hawaiian shirt of your dreams!
Additional reading:What Are the Benefits of Private Label Footwear Manufacturers?
Cow Design Sleepwear Supplier vs. Generic Sleepwear: Which Bulk Purchase Wins?
Infant Socks That Stay On: Best Options for Active Babies
Why Choose Cow Design Sleepwear for Bulk Orders?
What Are the Benefits of Detachable Custom Suspenders Solution?
Top Outdoor Custom Windbreaker Supplier: Quality Meets Style
What Are the Benefits of Wholesale Private Label Shoes?
- Previous: None
- Next: None
- 0


